
You Don’t Need to Be a Tech Person to Back Up Like One - Part III: In the Field
How to protect your photos in the field: proven strategies, gear tips, and habits from the trenches to avoid data loss before you get home.
Table of Contents
Backing Up in the Field: Don’t Let a Great Shoot Become a Data Loss Story
You’ve spent the day on an awesome Muench Photo Workshop, getting the best advice from the pros who lead their trips, chasing the light, kneeling in mud, waiting for wildlife to show itself, or grinding through a long shoot. You finally get back to your tent, hotel, cabin, or camper… and you do what?
If your answer is “nothing until I get home,” you’re taking a bigger risk than you think.
In the field, the time between capture and offload is when your images are at their most vulnerable. Cards get lost. Cameras get stolen. Drives fail. Coffee spills, bags fall off tables, things get forgotten in airport trays. This isn’t paranoia. It’s probability. And the longer your work lives in only one place - your memory card - the more likely it is to vanish.
That’s why field backups matter - not just for commercial shoots or big productions, but for anyone traveling with a camera and coming home with irreplaceable work.
In this post, I’ll walk you through a simple, reliable backup routine you can do just about anywhere. It’s inspired in part by field-tested advice from Reddit user /u/Big_Rip4015 - a former digital imaging technician posting in the /r/photography subreddit - and adapted for still photographers who care about preserving their work without needing a film crew or a server rack.
The Core Field Backup Workflow
When you’re on the road, the most basic goal is this: get every photo backed up in at least two places as soon as you can. That means twice the copies, twice the locations — ideally with at least one of them being mobile or easily carried.
Here’s a battle-tested workflow, drawn from both real-world shooting and the field experience of people like /u/Big_Rip4015.
Step 1: High-Quality Cards and Drives Only
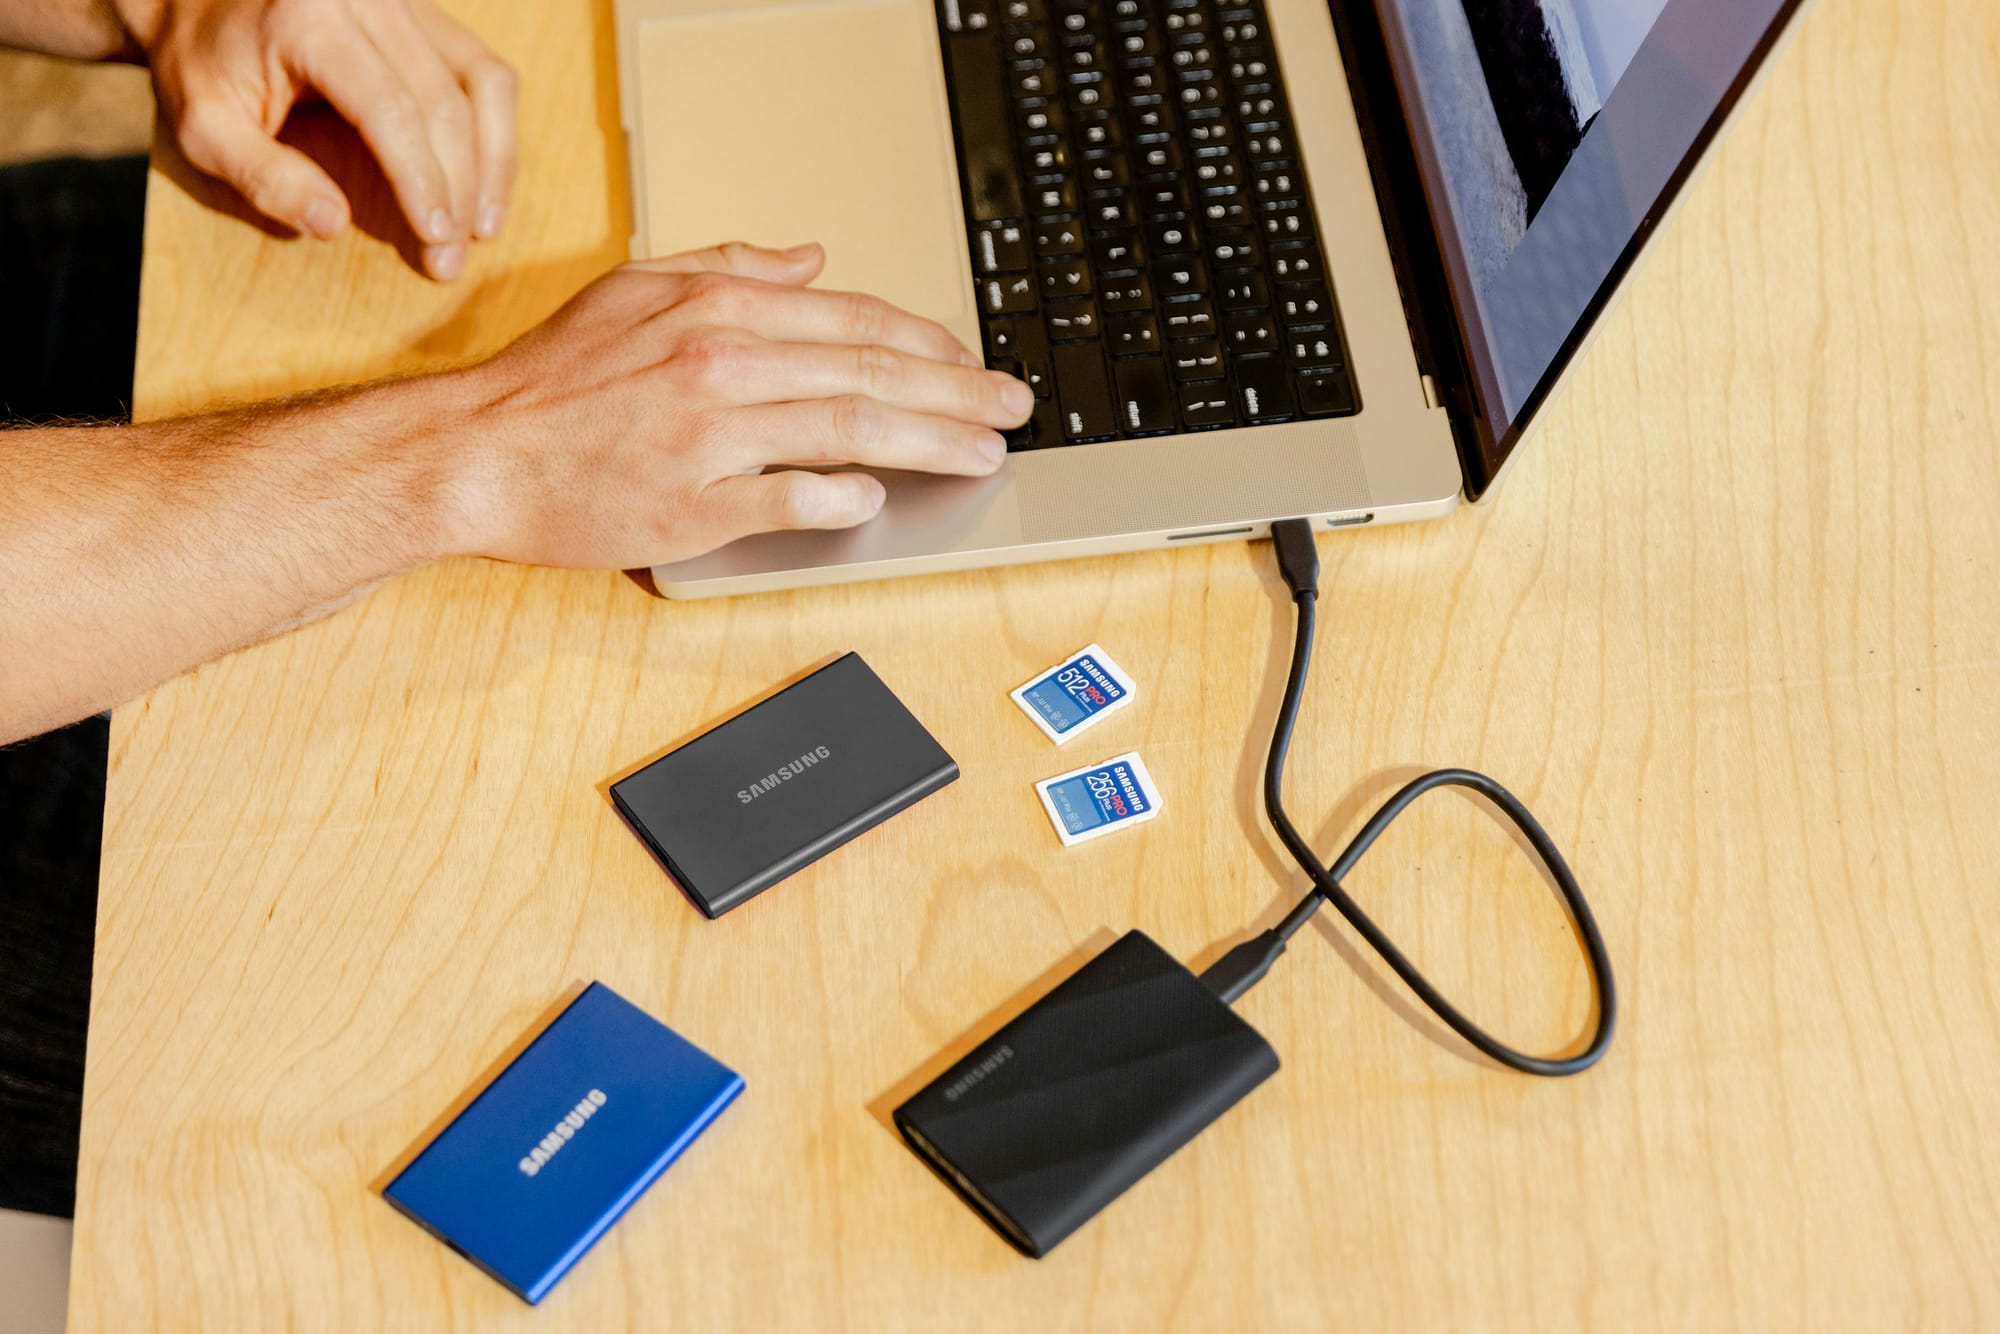
This is possibly the worst place to try and be frugal. Use name-brand cards from reputable vendors, and rugged SSDs from known-good lines (SanDisk issues aside, drives like the Samsung T7 Shield, OWC Envoy Pro, or LaCie Rugged SSDs tend to hold up well).
Before any shoot, format your cards in-camera - never on your computer. Formatting on a Mac or PC can cause compatibility issues or corrupt the card’s structure in a way your camera might not detect until it’s too late.
Before any shoot, format your cards in-camera, and label both cards and drives clearly. “Backup Drive” or “Untitled” tells you nothing in a moment of panic.
Step 2: Offload Every Day. No Excuses.
After every shoot day, copy every card to two separate drives. If one of them is your laptop’s internal drive, fine - as long as the second is an external. Ideally, don’t keep both copies in the same bag when traveling. This is the "3" in the "3-2-1" backup methodology discussed in You Don’t Need to Be a Tech Person to Back Up Like One - Part II.
This doesn’t need to be complicated:
- Use folders named like
20250725_Coyote_Butte_Morning - Separate folders for each camera if needed
- Subfolders per card if you’re rotating through multiple in a day
Step 3: Back Up First, Erase Later
Never format a card until it has been backed up twice, and you’ve verified the copies.
Verification doesn’t need to be fancy. Just:
- Open a few files at random
- Scrub through thumbnails
- Confirm the folder structure looks as expected
If you want to go further, use tools like IntegrityChecker, or even a checksum-generating script (that’s advanced, and a post for another day).
Step 4: Treat Metadata Like Gold
Your camera’s internal clock? Make sure it’s accurate before the trip and every day before you start shooting. If you cross time zones, check it again.

That timestamp metadata isn’t just nice to have. It powers your import sorting, catalog structure, and everything from filename conventions to Lightroom smart collections. If it’s off, your entire shoot might get misfiled - or overwritten.
Also: don’t use symbols or characters like spaces, :, #, %, ", ', ;, &, or, yes , in folder or file names. Use hyphens or underscores. This avoids compatibility issues when you plug your drive into a different machine or OS.
Step 5: Handle Gear Like It’s Irreplaceable
Drives are delicate. Ports are weak points. If you throw your SSD with the cable still plugged in into a gear bag, you’re gradually destroying the port. Cables that start flaking? Bin them immediately or mark them with red tape.
And label everything. That tiny SD card will blend in with your backup card pile by day three.
Optional Upgrades (Based on Your Risk Tolerance)
You can get fancy if you want. Here’s what higher-risk or higher-value shoots might warrant:
- Triple copy (two external drives plus internal SSD)
- Encrypted backups if you’re traveling internationally
- Cloud sync (if bandwidth allows — often not realistic in the field)
- Checksum verification (for critical shoots)
But none of this matters if you don’t actually test it. That’s where we’re going next.
What to Pack: In-Field Backup Kit for Photographers
Headed out on a photography workshop or road trip? Whether you’re chasing wild horses in the desert or composing intimate landscapes in the mist, your backup gear matters just as much as your lenses. Here’s a no-nonsense checklist to help you protect your work in the field.
Memory + Storage
- Two spare memory cards per camera body
- Use high-quality, name-brand cards from a trusted source. The "Sony Tough" range are super robust, and very fast and available in SDXC, CFExpress Type A and B. They are the cards I use as my primary cards. I also recommend Lexar cards, which are slightly cheaper than the Sony Tough ones, but still excellent quality.
- Label each card clearly (“1”, “2”, etc.)
- If a card starts acting up, red-tape it immediately and stop using it
- Proper card storage
- Use a dedicated card wallet or rugged case (not tossed into a camera bag side pocket)
- Keep this separate from your backup drive pouch to minimize single-point failure
- Two rugged external SSDs
- I am personally a huge fan of the OWC Envoy Ultra portable SSDs, but also use a Samsung T7 Shield. LaCie Rugged SSD also have a great reputation.
- Label clearly with unique names (e.g., ENVOY1NM2025)
- Fast, reliable card reader
- Make sure it’s compatible with your camera’s card format (SD, CFexpress, etc.)
- If you can't read images directly off your camera as an option to a broken card reader, bring a spare if you’re going remote — this is a single point of failure
Laptop + Software
- Laptop with enough internal storage for at least one copy of each day’s shoot
- If you’re going on a workshop that includes editing sessions, you’ll need this
- Keep the operating system updated for security, but do not install updates less than 48 hours before travel. Give yourself time to test
- Up-to-date editing software
- Lightroom, Capture One, Photo Mechanic — whatever you use, update it before your trip
- Again, don’t update it or switch to a completely new version right before you leave. Allow 48 hours and one edit session post-update
- Folder structure prepped in advance
- E.g.,
20250812_WhiteSands_Sunset/Camera1/Card1
- E.g.,
Cables + Power
- At least two tested USB-C (or A) cables that work with your drives and reader
- Important: not all USB cables are created equal
- Test spares before you pack them to make sure they work reliably
- Label them if needed
- Compact power bank
- Enough to keep your phone or laptop topped up during a long day
- Helpful if you’re off-grid, even for a short while
Organization + Protection
- Soft case or pouch for backup gear
- Something to store SSDs, card reader, cables, and power bank together
- ThinkTank makes great modular pouches that are tough and well organized
- Notebook or index cards
- Use this to track card usage, backups, or quick notes on shoot days
- Red + green tape
- Green = ready to use
- Red = faulty, error-prone, or due for review
- Reward label or contact info
- Optional, but smart. Put your contact details on all critical gear
Wrapping Up
You don’t need a DIT trailer or a Pelican case full of RAID arrays. But you do need a plan. Every memory card you leave full at the end of the day is a risk. Every unverified copy is a gamble.
A card reader and backup drive are as important on the road as your best lens.
In the next post, we’ll talk about how to know your backup actually worked - and how to test your recovery process before it matters.
Because again:
If you can’t restore it, you don’t have it.
Want help setting up your own backup workflow? I offer one-on-one consulting for photographers who’d rather not spend a weekend Googling file structures and cloud services. It’s practical, friendly, and totally tailored to your gear and goals.

The Tech Behind the Frame Newsletter
Join the newsletter to receive the latest updates in your inbox.


