Tethered Capture in Phocus 4.1.2: What Works, What's Hidden, and What's Broken
Tested X2D II tethering in Phocus 4.1.2. Found undocumented focus tools, a hidden 400MP pixel-shift mode, and two system freeze triggers.
Table of Contents
I've been using Phocus for over a year and never once tethered on purpose. My only experience was accidentally discovering that if Phocus is already running when you plug in your X2D II, it hijacks the connection into tethered mode and starts producing FFF files instead of the 3FR originals you expected. That particular gotcha I wrote about months ago.
Then 4.1.2 dropped with five tethering-specific improvements, and the Hasselblad subreddit lit up with questions. So I plugged in the X2D II, opened the Capture tab, and spent a morning finding out what Phocus tethering actually looks like in practice. Some of it is good. Some of it is genuinely undocumented. And some of it will freeze your entire system if you press the wrong button.
What Phocus 4.1.2 Added for Tethered Shooting
Tethering on the X2D II was a weak spot in Phocus before 4.1.2. The 4.0 release separated camera White Balance from the editing WB tool (so adjusting WB in Phocus no longer pushed the setting to the camera), but beyond that, tethering hadn't seen meaningful attention since 3.8.
4.1.2 changes that:
- AF-C support during tethered shooting (previously greyed out, this was the #1 community complaint)
- Shooting mode switching from the Camera tool in Phocus
- Crop mode switching from Phocus
- Optimized Live Video entry/exit (stability improvements for the live view start/stop cycle)
- Fixed tethered shooting over USB 2.0 (a regression that broke tethering on hubs and older cables)
These are real improvements. AF-C alone removes the biggest friction point for anyone shooting moving subjects tethered.
How to Connect
Open Phocus first, then connect the camera via USB-C. If you connect the camera before launching Phocus and select Mass Storage on the camera LCD, Phocus will import your existing files as 3FR originals. That's the import workflow, not tethering.
The rule from 3.8 still applies: if Phocus is already running when you connect, it claims the connection in tethered mode regardless of what you select on the camera. This is by design, not a bug, but it catches people regularly.
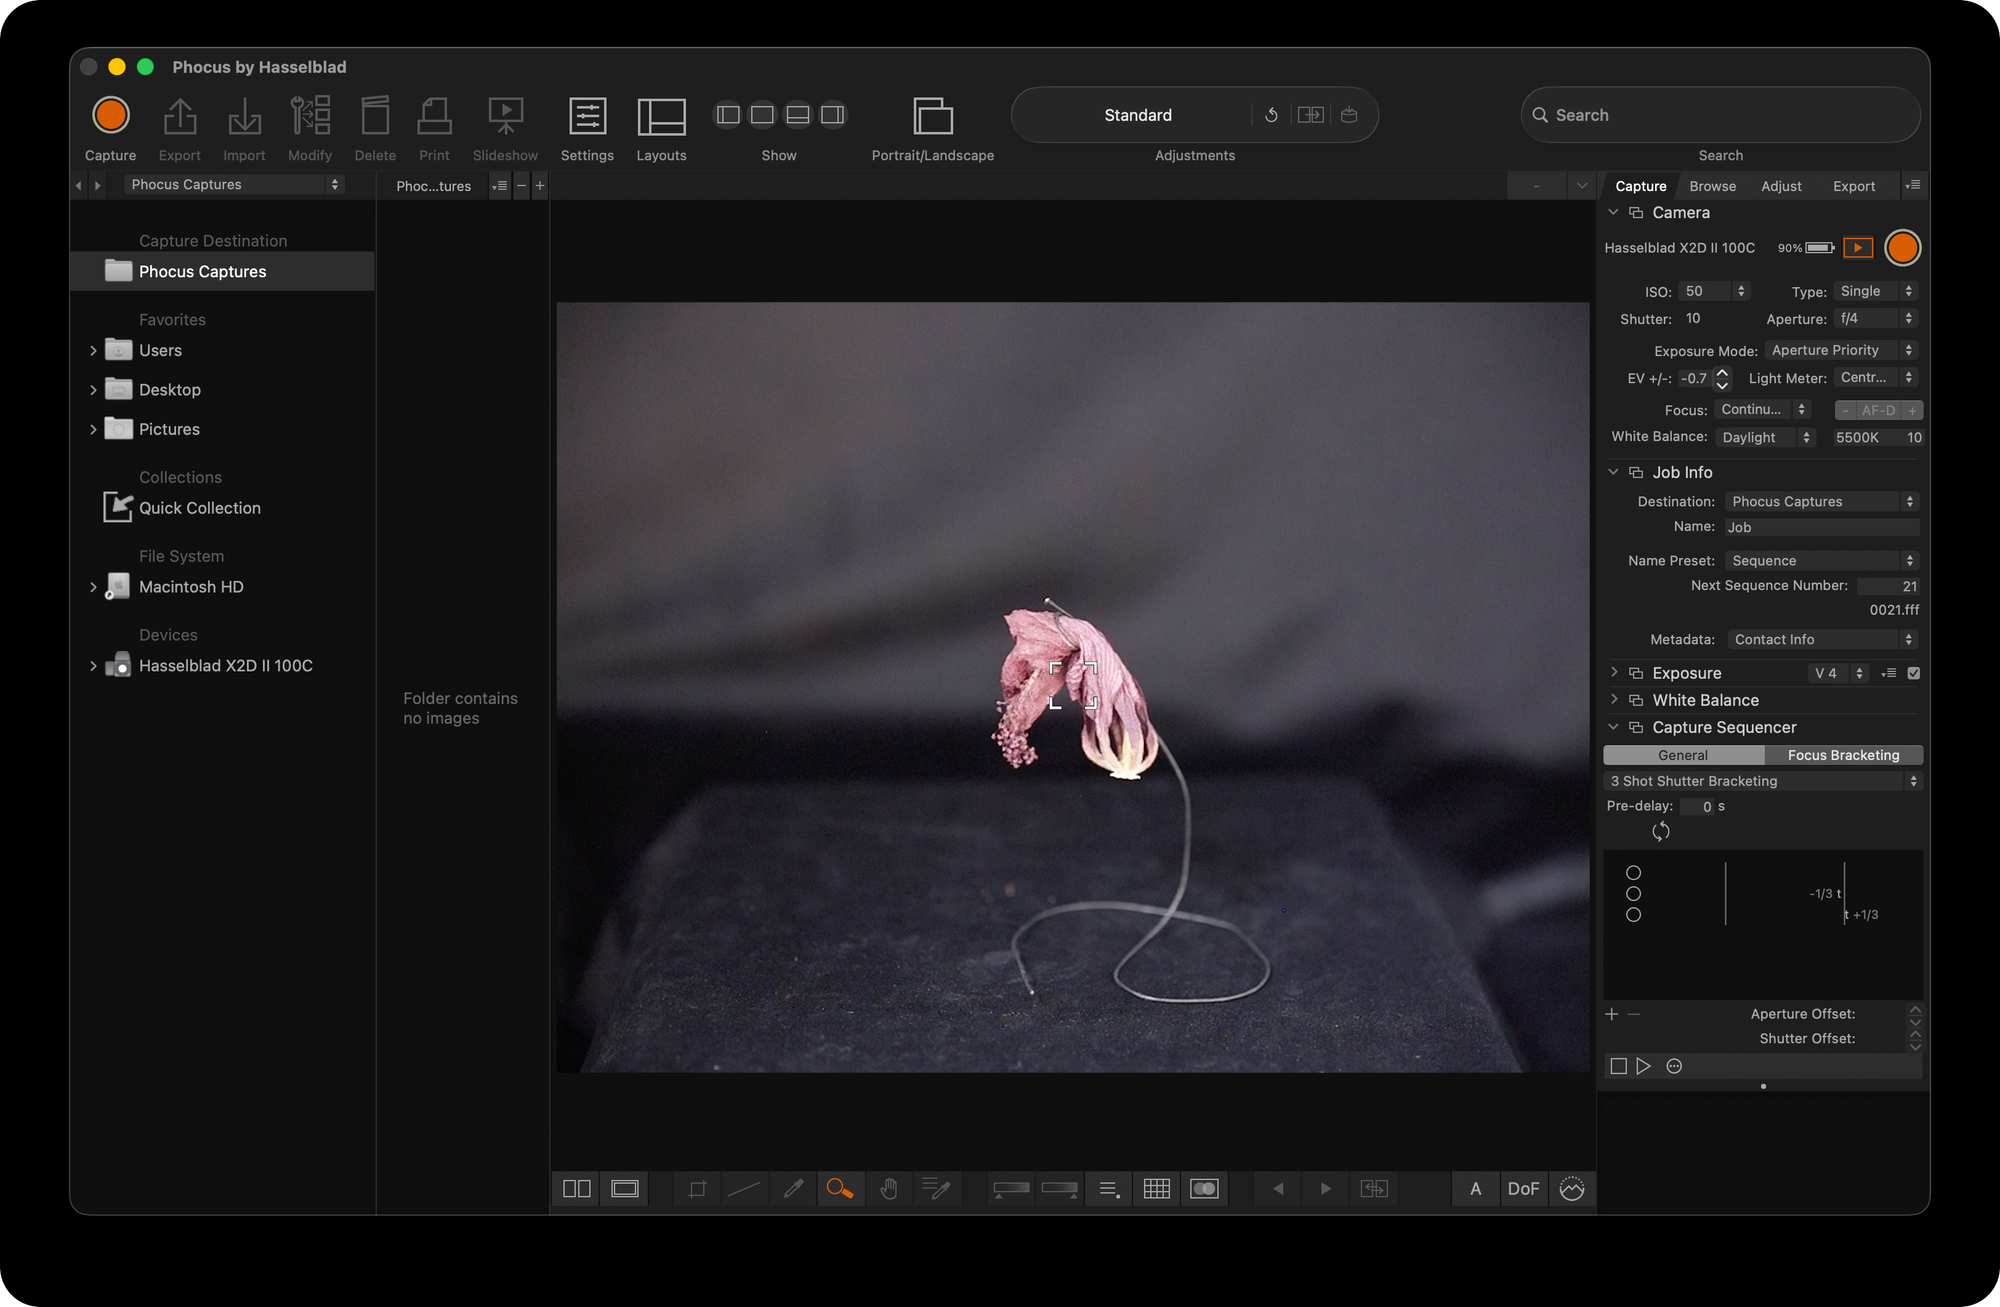
The Camera Tool: What You Can Control Remotely
The Camera tool gives you control over most shooting parameters without touching the camera body. In 4.1.2, the drive mode dropdown offers two options: Single and Multi.
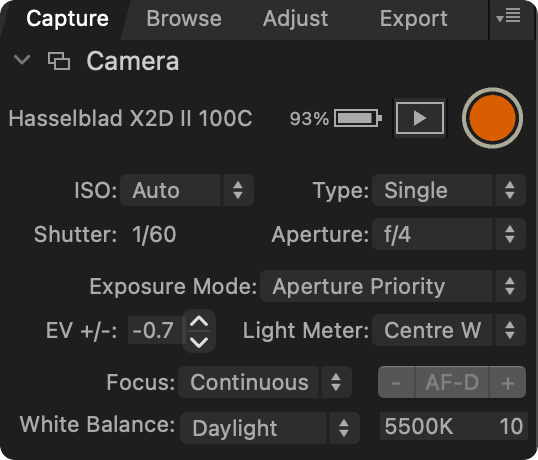
Single does what you'd expect. Multi is more interesting, and I'll come back to it.
One notable absence: self-timer is disabled during tethered capture. Hasselblad support has confirmed this is intentional, with no workaround.
Live Video: It Works, With Caveats
Click the Play icon next to the Capture button in the toolbar to start Live Video. The viewer switches from showing captured images to a live feed from the camera sensor. One important rule: always stop Live Video before disconnecting the USB cable. Disconnecting while the stream is active causes the camera to throw an error.
While Live Video is running, the thumbnail browser is locked. You can't click through your captures to review them. The viewer shows either the live feed or the most recent capture, nothing else. Stop Live Video first to browse your shots.
The live feed itself is responsive and usable. But there's a stability issue worth knowing about: if the camera goes to sleep or the USB connection hiccups while the stream is active, Phocus can temporarily freeze your mouse and keyboard. The JPEG decoder that processes the live view frames runs on the main thread. When it receives corrupted frames, it enters a tight error loop that starves the system's input handling. In my testing, the system recovered on its own within a few seconds, but there's no crash, no error dialog, and no indication of what just happened. Your cursor just vanishes and comes back.
The Hidden Focus Tools Nobody Knows About
This is the part that surprised me. The Hasselblad subreddit has been asking for months whether focus peaking or focus mask exists in desktop Phocus. The answer is yes, and it's been there all along, completely undocumented.
Click anywhere on the Live Video image. The view zooms to approximately 100%, and three things appear:
- An orange measurement reticle at the click position
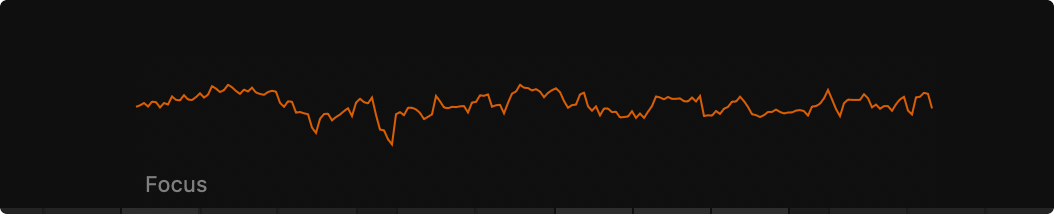
- A Focus sparkline at the bottom of the viewer, plotting real-time focus quality as an orange waveform
- Three tool buttons in the bottom-right corner
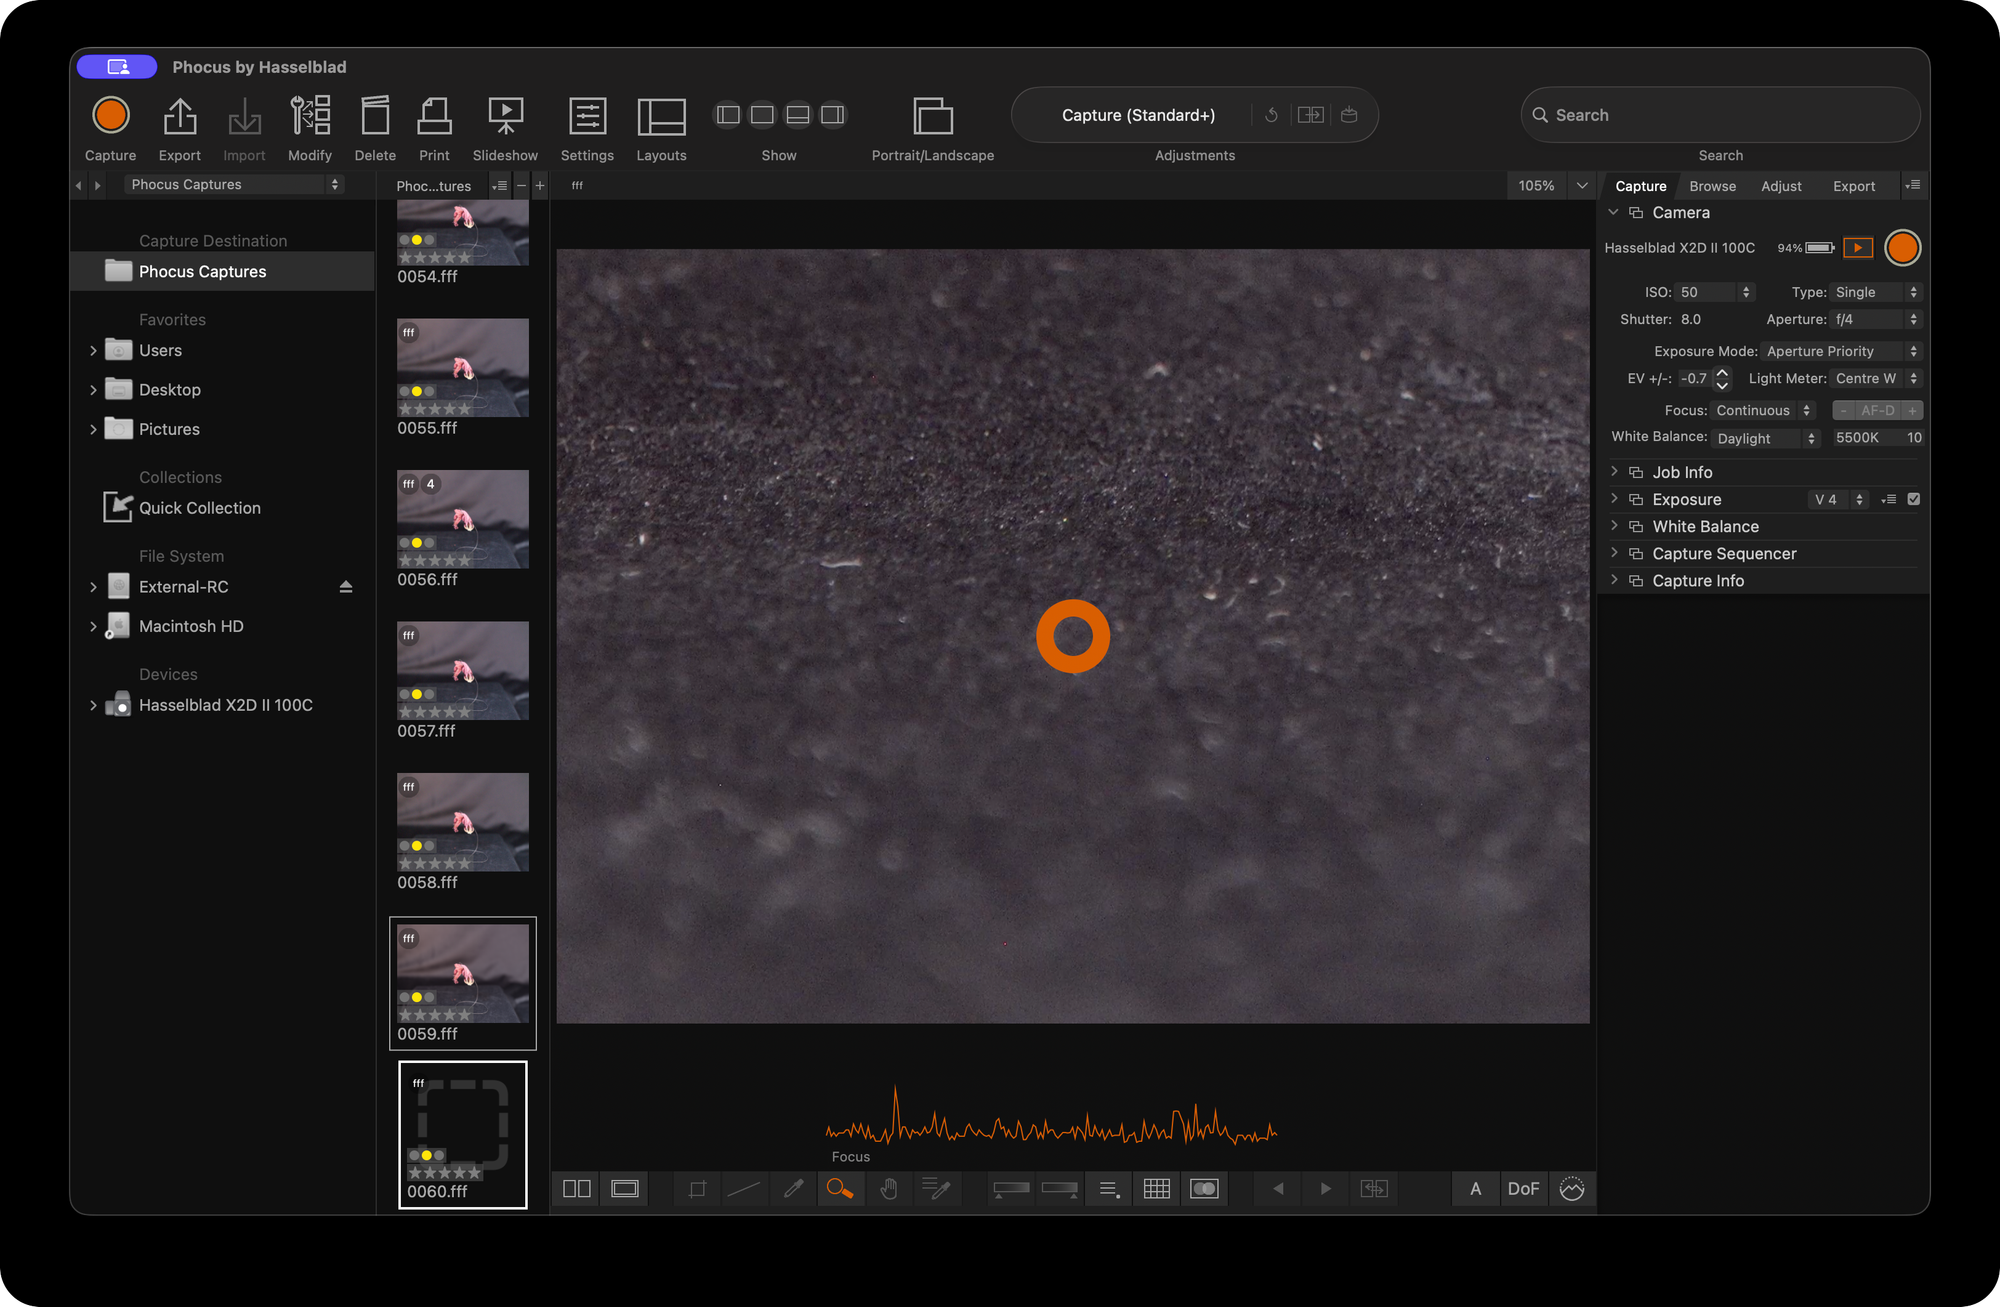
The sparkline is the standout. It plots sharpness or contrast over time at the reticle position. Higher peaks mean sharper focus. For manual focusing, this is transformative: turn the focus ring and watch the waveform rise and fall. When it peaks, you're in focus. No guessing, no zooming and squinting at the LCD.
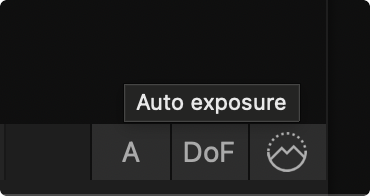
The three buttons:
- A (Auto Exposure): meters the live view and nudges the exposure compensation. The effect is subtle (fractions of a stop) and doesn't change your shutter, aperture, or ISO.
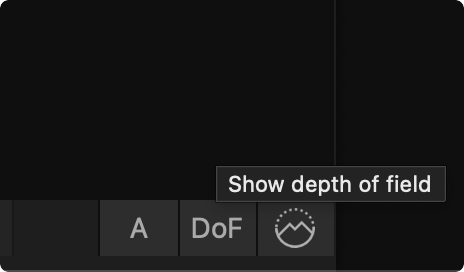
- DoF (Depth of Field Preview): closes the lens to your shooting aperture so you see actual depth of field in the live feed. Same as pressing the DOF preview button on the camera body, but remote. Most useful at narrower apertures (f/8 and above) where the difference between wide-open preview and actual capture depth of field is significant.
- Focus Peaking (mountain icon with dotted outline): overlays in-focus edges in the live feed. When activated, the sparkline's behavior changes too, appearing to measure edge sharpness across the peaking region rather than just the reticle point.

None of this is documented anywhere. No menu entry, no keyboard shortcut, no mention in any Hasselblad material. You find it by clicking on the live video feed and noticing the buttons appear.
Have you seen the guide? I've published Essential Phocus 4.x for Mac - 79 topics across 179 pages covering everything from HNCS color science to HDR workflows. It's the reference manual Hasselblad hasn't updated since 3.8. Pay-what-you-want starting at $24.
The Capture Sequencer: Powerful but Confusing
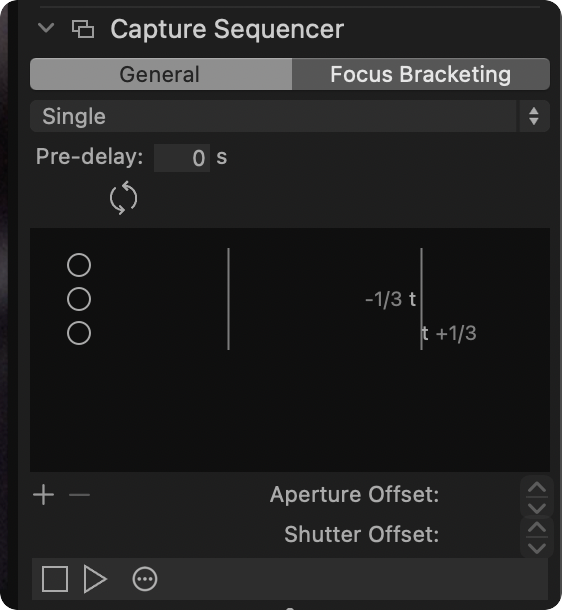
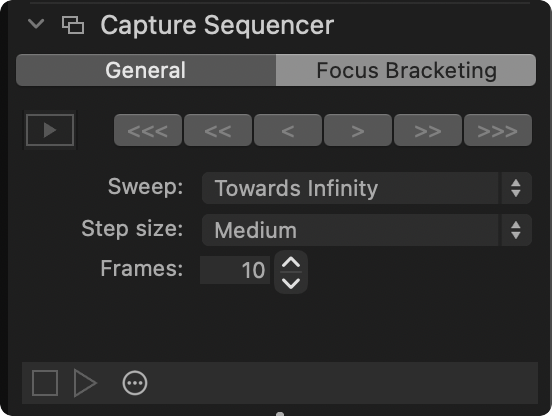
The Capture Sequencer automates multi-shot sequences: exposure bracketing, focus bracketing (for focus stacking), and interval shooting. It lives in the Capture tab and has two tabs of its own: General (for exposure and interval sequences) and Focus Bracketing (for focus stacking with configurable sweep direction, step size, and frame count).
Two things caught me off guard:
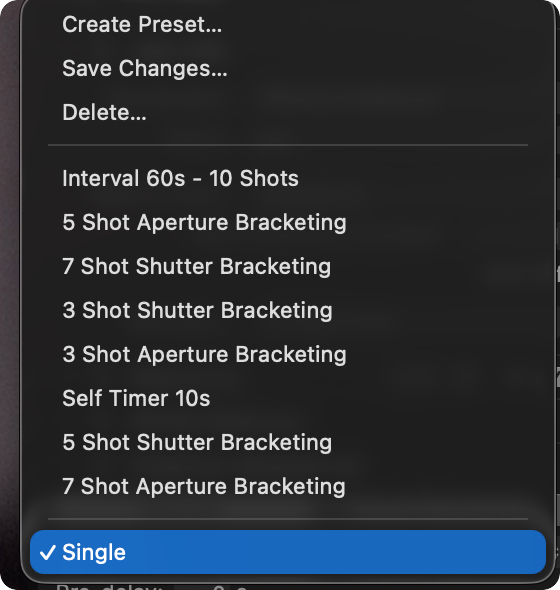
There is no "Off" preset. Every built-in preset is a multi-shot sequence. If you want a single-shot option in the Sequencer, you have to create one yourself (remove all but one shot, clear the offsets, save as a preset). Without this, the Sequencer is always armed with some multi-shot configuration.
The Sequencer and the Capture button are independent. The orange Capture button in the toolbar fires the camera shutter. The Sequencer's Play button (small, at the bottom of the Sequencer panel) runs the defined sequence. Pressing the toolbar Capture button does not run your Sequencer preset. It fires independently, and in my testing, it occasionally fired continuously until I hit Stop. The Sequencer's Play button, by contrast, ran the defined 3-shot bracket and stopped cleanly every time. Use the Sequencer's own controls to run sequences.
The Hidden 400MP Mode on Your X2D II
Remember the "Multi" option in the drive mode dropdown? It fires a 4-shot pixel-shift capture sequence. The sensor physically shifts between four exposures, so each photosite captures all colour channels rather than relying on Bayer demosaic interpolation. The result is a single FFF file containing four 16-bit layers.
The file size tells the story: a single-shot FFF is about 160MB. A Multi FFF is about 600MB. ExifTool confirms it: BitsPerSample: 16 16 16 16 on the multi-shot file versus BitsPerSample: 16 on the single.
This mode is tethered-only. You will not find it on the camera body's drive mode menu. It's designed for product photography, still life, reproductions, and film scanning, where the subject doesn't move and you need maximum colour accuracy.
Two critical requirements: the camera must be on a solid tripod (any movement between exposures ruins the pixel alignment), and you must disable image stabilization. The sensor-shift stabilization system physically moves the sensor, which directly conflicts with the pixel-shift sequence. I got "movement between exposures" errors on every attempt until I turned stabilization off, despite the camera being on a very solid tripod.
What's Still Rough
Tethering in 4.1.2 is a genuine step forward, but it's not polished.
The input freeze issue is the most serious problem. Two separate triggers can lock up your mouse and keyboard: the JPEG decode error loop during Live Video (recovers on its own), and the device polling loop during rapid capture (may require unplugging the cable). Neither produces an error message. Both are caused by operations running on the main thread that should be on background threads. If you've read my earlier posts about Phocus and synchronous I/O, this is the same architectural pattern.
The Capture Sequencer's UX is classic Phocus. Powerful capabilities behind a UI that mixes unrelated functions (same dropdown contains bracketing presets and the self-timer), has no "off" state, and provides no documentation for what any of it does. The three hidden focus tools in Live Video are genuinely useful features that nobody can find because there's no UI affordance for them whatsoever.
The Full Tethering Walkthrough Is in the Guide
If you want the complete step-by-step for all of this (connection setup, Camera tool controls, Capture Sequencer presets, Live Video focus tools, multi-shot pixel-shift procedure), I've added a dedicated Tethered Capture section to the Essential Phocus 4.x for Mac guide. Version 1.1 is available now with four new tethering topics and 18 annotated screenshots.

The Tech Behind the Frame Newsletter
Join the newsletter to receive the latest updates in your inbox.